
How We Kept Working During Ecuador’s 14-Hour Blackouts
In late 2024, Ecuador’s power grid started failing on a schedule. Not the occasional flicker — we’re talking 12 to 14 hours a day without electricity, for weeks. If you worked from home, that wasn’t an inconvenience. It was a full stop.
I work remotely. My income depends on a laptop and an internet connection. When both go dark at 7am and don’t come back until 9pm, you don’t just lose productivity. You lose clients, deadlines, and the ability to communicate during an actual crisis. Something had to change.
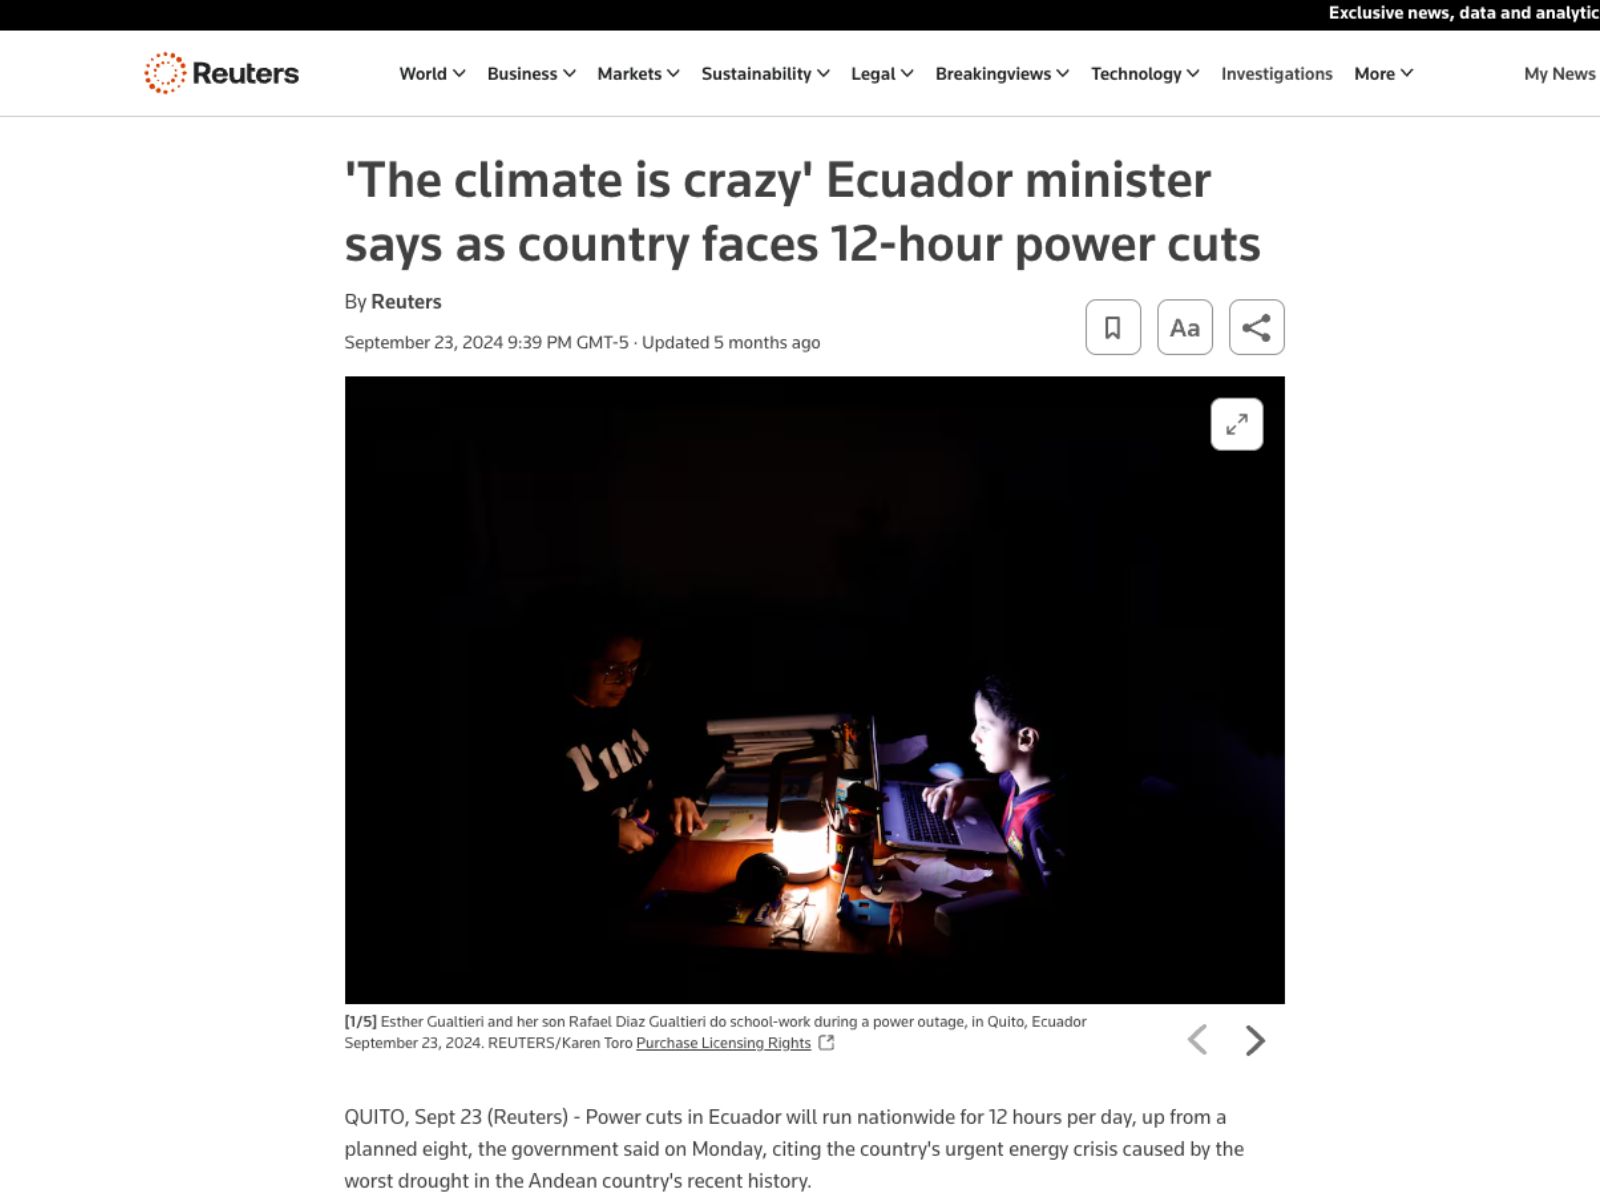
News excerpt by Reuters
The Problem Wasn’t Just the Outage — It Was the Helplessness
The first few days we improvised. Coffee shops with generators. A neighbor’s place. Hotspots that barely held a signal. It worked until it didn’t, and it wasn’t sustainable for a team of four people trying to coordinate real work.
The obvious fix — a generator — turned out to be its own problem. Fuel was scarce, generators are loud, and running one all day in a residential space isn’t practical. Smaller battery packs weren’t enough to sustain multiple laptops for that many hours. We needed something that could recharge itself.
Solar was the answer, but building a system from scratch meant figuring out wiring, components, and sizing — none of which I’d done before. So I approached it the same way I approach design problems: define what success looks like, figure out the minimum viable setup to get there, build it, and test it under real conditions.
Defining What “Working” Actually Meant
Before buying anything, I got specific. Success wasn’t “some power” — it was four laptops running simultaneously for up to 14 hours, plus a WiFi router, plus a backup internet source that didn’t depend on the grid at all.
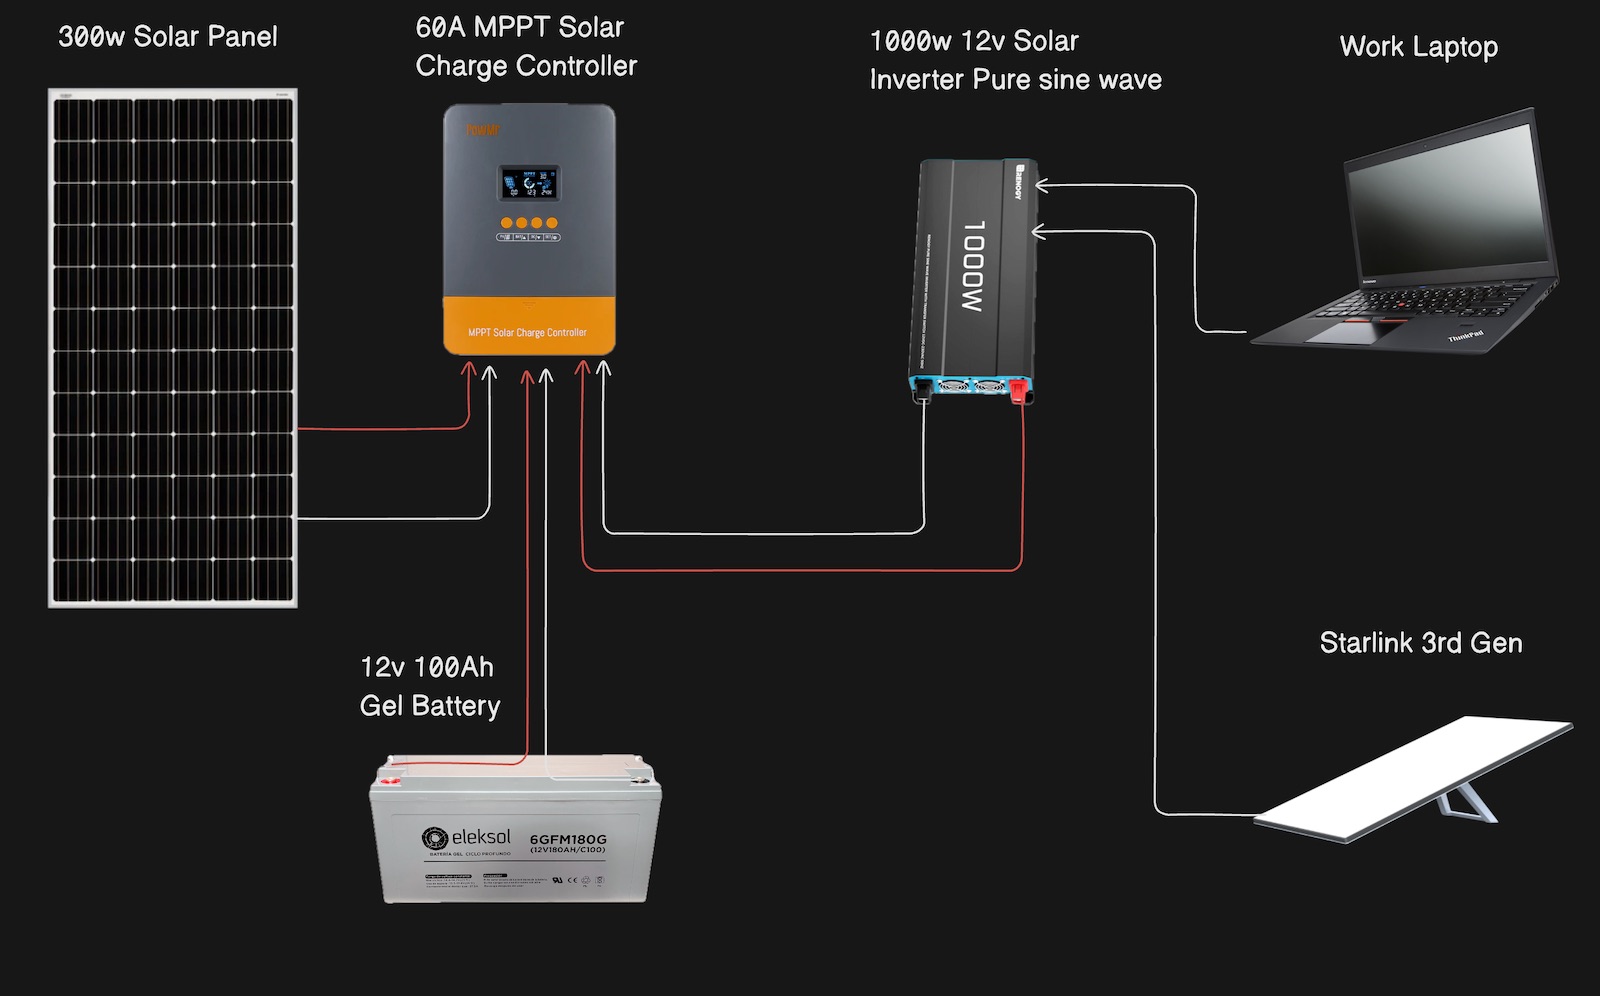
Running the numbers: four laptops at roughly 45W each plus a router landed us at around 200W of continuous draw. A 100Ah 12V deep-cycle battery, a 300W solar panel to recharge it during daylight, a 1000W pure sine wave inverter to convert the DC power to something laptops can use, and a 60A MPPT charge controller to manage it all. For internet independence, we added a Starlink Gen 3 antenna — powered by the same system.
On paper it worked. The question was whether it would hold up in practice.

The Build Was Simpler Than I Expected
Sourcing the components in Ecuador took some patience, but once everything arrived the assembly was straightforward. The wiring follows a simple chain — panel to controller, controller to battery, battery to inverter — with the right fuses and cable gauges at each junction to keep it safe. Nothing about the physical build required special expertise, just methodical attention to the specs.
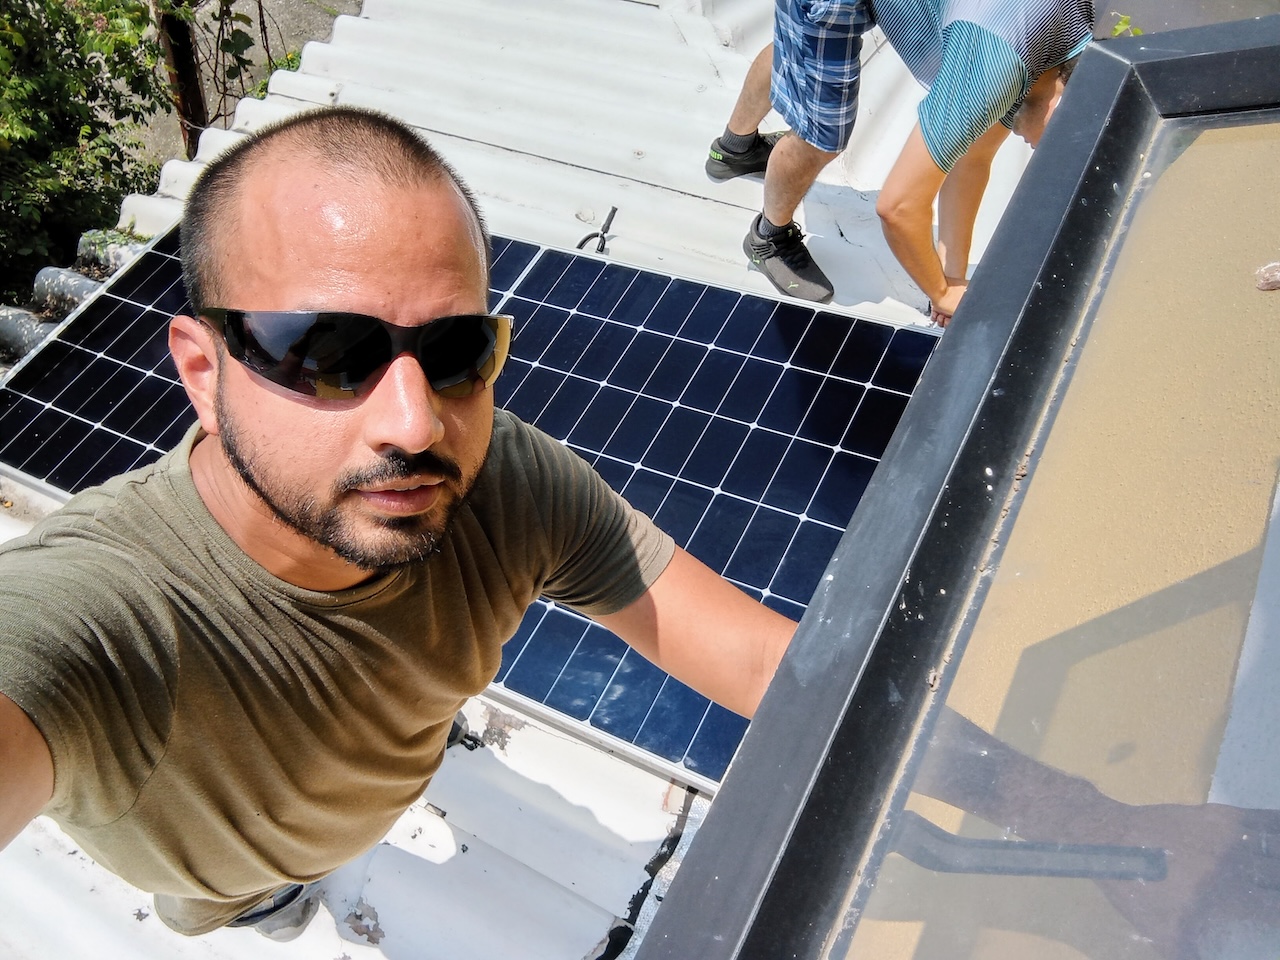
The Starlink antenna plugged directly into the inverter’s AC output. The whole system fit in a corner of the workspace without dominating it, the solar panel in the other hand was a bit of a challenge to install, but it was worth it.
Testing It on the Worst Possible Day
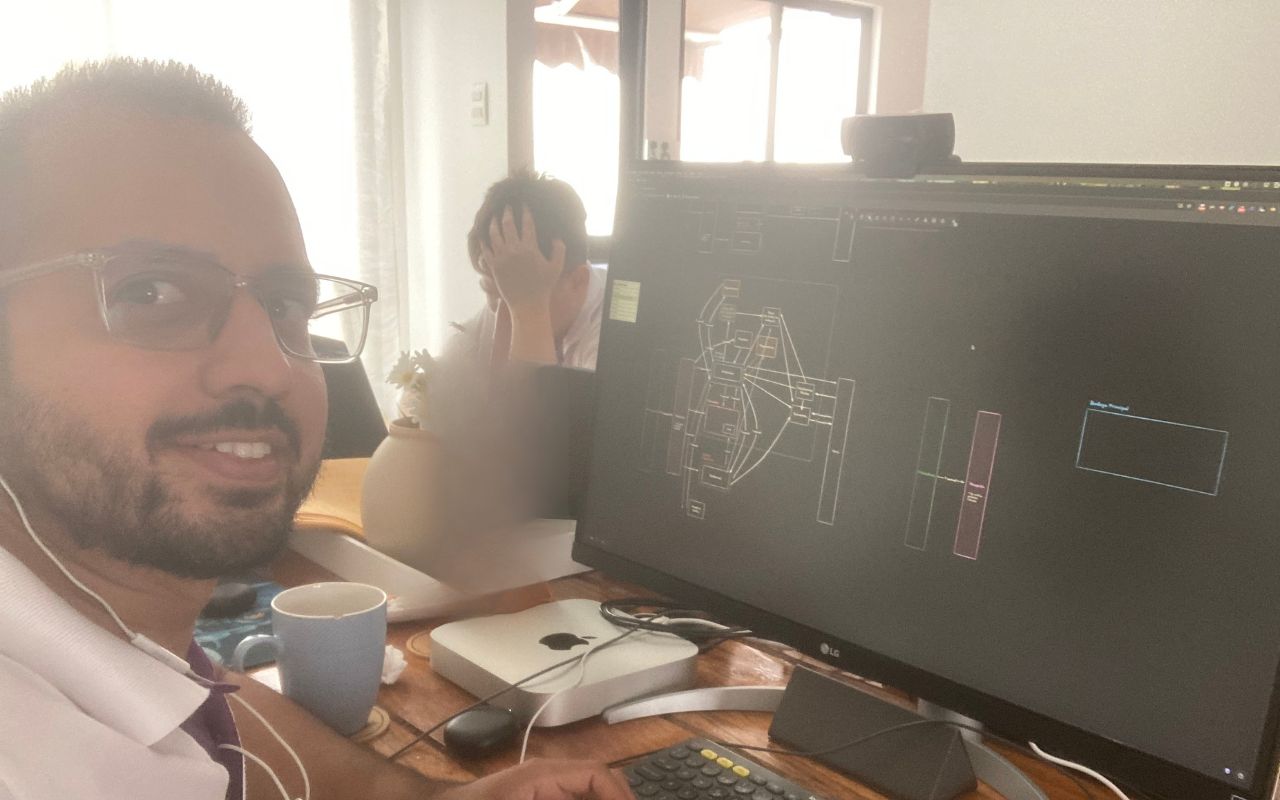
The real test came during the next scheduled blackout. We connected all four laptops and the router, fired up Starlink, and got to work. Battery voltage held steady. The inverter didn’t overheat. Internet speeds were normal. We worked a full day without interruption while the rest of the block sat in the dark.
That was the moment it stopped being an experiment and became infrastructure.
What We Learned
The biggest surprise wasn’t technical — it was psychological. Once the system was in place, the anxiety around outages disappeared almost completely. We stopped watching the clock and checking grid status. Work felt normal again, which is all we actually needed.
The deeper lesson is: the best solution to an infrastructure problem isn’t always the most sophisticated one. We didn’t need a smart home energy system or a bank of lithium batteries. We needed the minimum reliable setup that covered our specific load, recharged itself, and required no ongoing effort to maintain. That’s it.
If Ecuador’s blackouts taught me anything as a designer, it’s that the ability to build internal tools is useful in unexpected ways.
“The obstacle is the way.” — Marcus Aurelius